
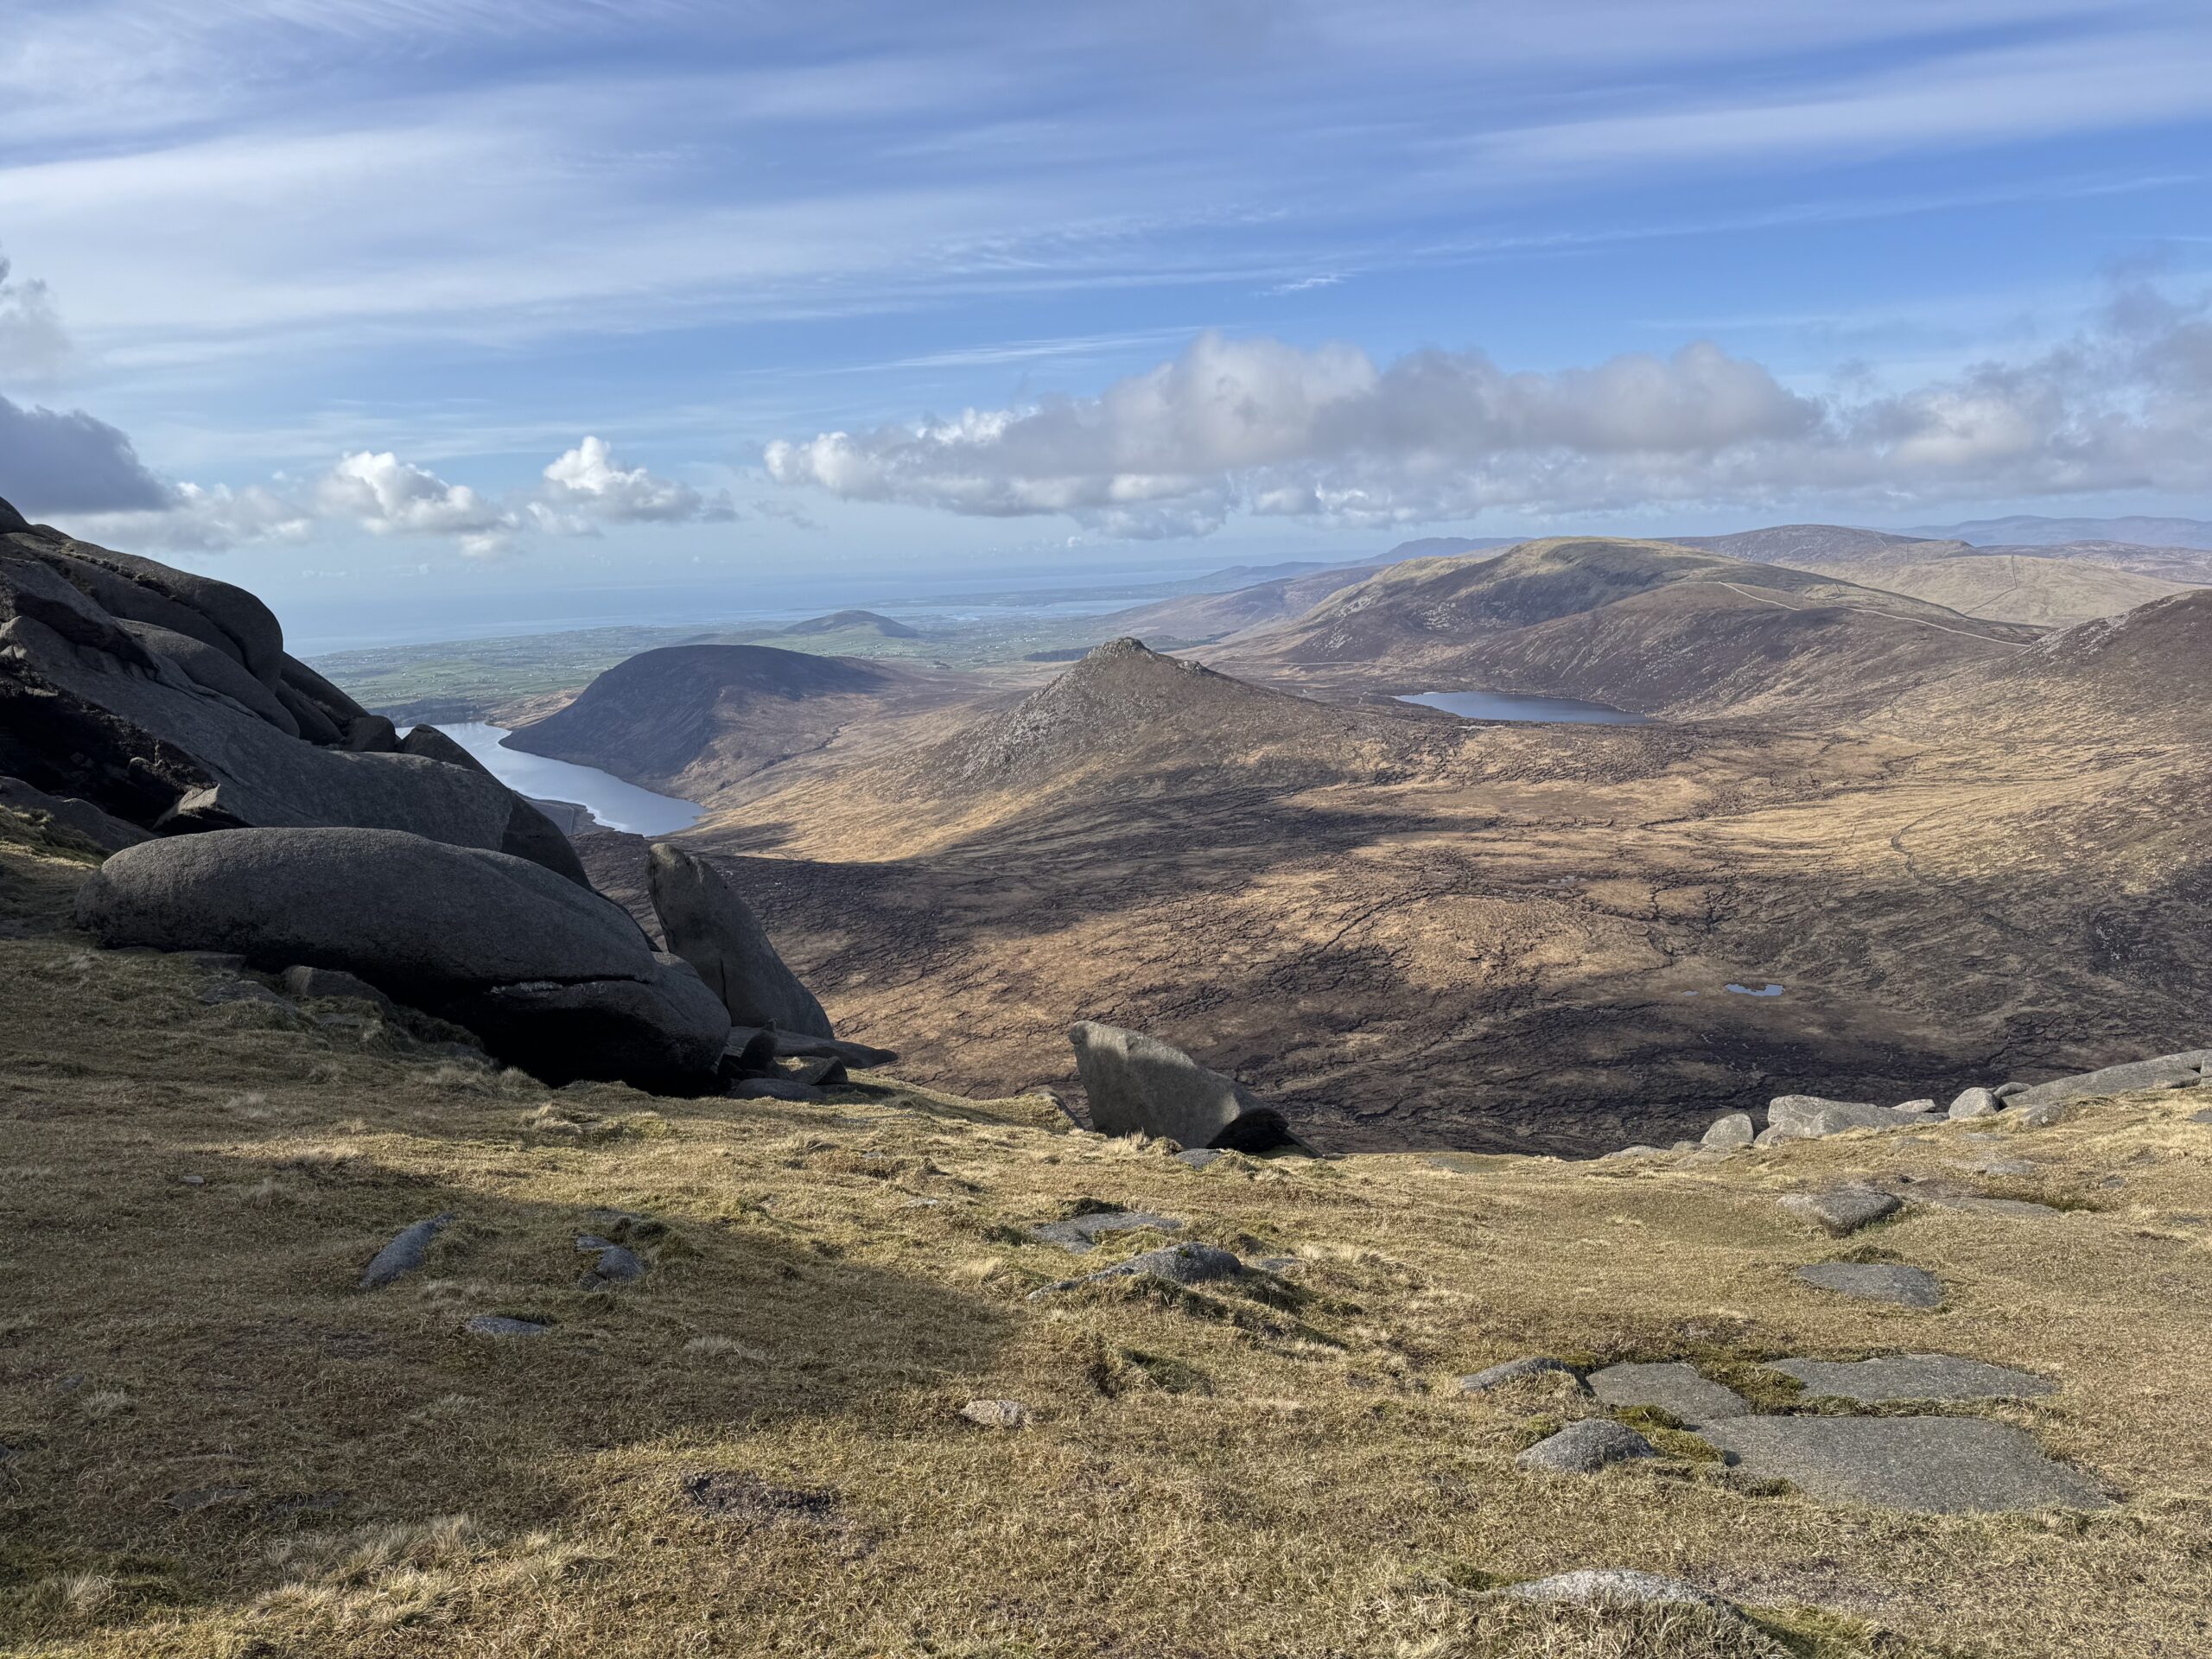
I think the Slieve Bearnagh hike is my favourite mountain summit trail in the Mournes. That’s saying something given the very strong competition from Slieve Donard and Commedagh, as well as Slieve Binnian. However, I think the Slieve Bearnagh hike just shades it for me.
One of the main reasons is that I just loved the approach up to Hare’s Gap. The path feels like it’s carved out of the side of the valley. The views back on reaching the saddle between Slieve Bearnagh and Slievenaglogh were pretty spectacular too.
The climb from Hare’s Gap up to Slieve Bearnagh itself can get very steep in places but totally worth it for the amazing views from the top. This article gives you a step-by-step guide for how to get to the top.
Slieve Bearnagh Hike Details
- Distance: 9.7km.
- Elevation Gain: Total ascent of 576m according to my Garmin. However, the official map notes this as 663m.
- Time Required: It took me 3.5 hours but I kept a really strong pace throughout. I’d recommend allowing 4-4.5 hours to complete the Slieve Bearnagh hike.
- Grade: Difficult. Despite the route being just under 10km long, it still packs over 550 metres of climbing into that distance. A good level of fitness is needed, particularly for the steep final ascent.
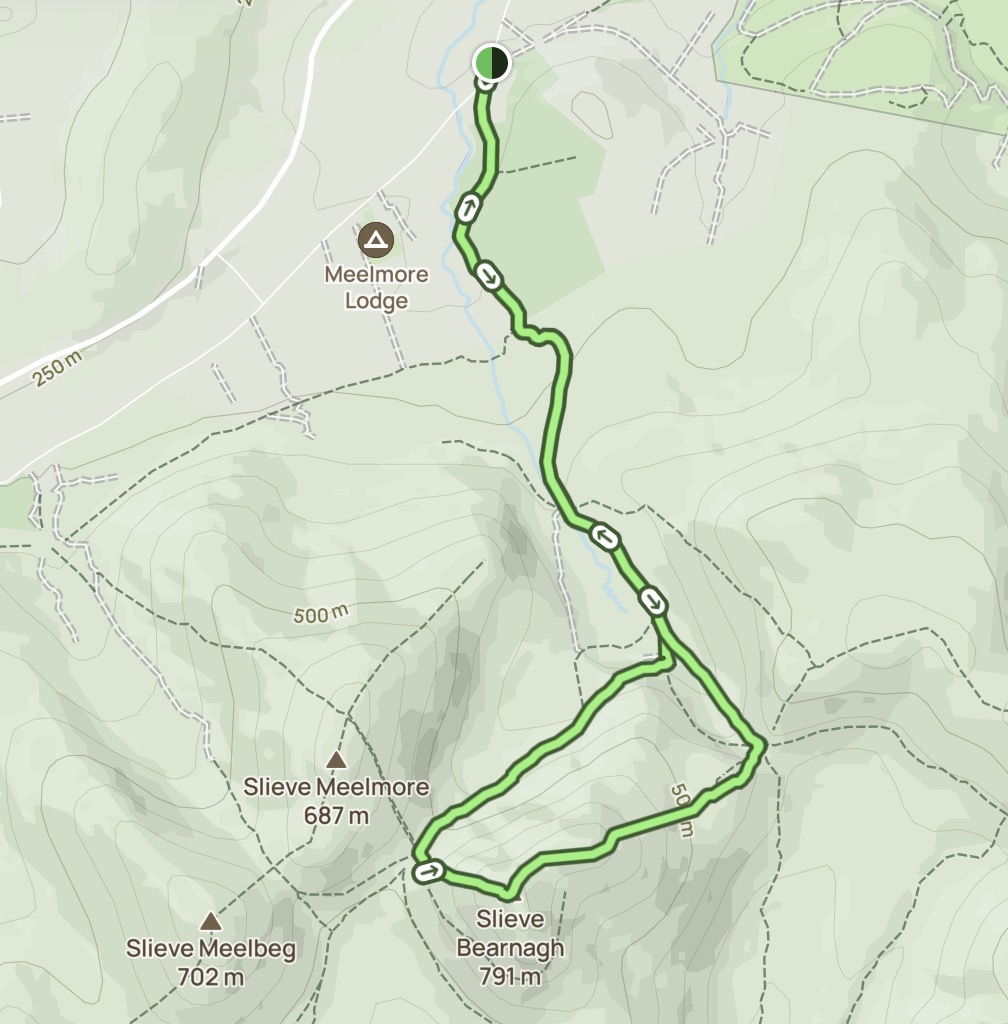
Slieve Bearnagh Route Map
I used this map from alltrails. While the map goes up via the Bearnagh Slabs and down through Hare’s Gap, I chose to do it other way around. That’s just a personal preference of mine and either option still works well.
What’s in a Name?
Slieve Bearnagh comes from the Irish ‘Sliabh Bearnach’ which translates to gapped mountain. As with a lot of place names in Ireland, the name describes the place. The top of Slieve Bearnagh is capped by two large outcrops of rock with a gap in between them.
Getting There
I parked in the free public car park on Trassey Road. Spaces here fill up very quickly so best to arrive as early as you can. The other option is to pay for parking at the nearby Meelmore Lodge. You will be charged £4 for parking. From researching online, it wasn’t clear to me whether they accepted card payments or just cash. This was one of the main reasons I decided on the Trassey Road car park.
Starting the Slieve Bearnagh Hike
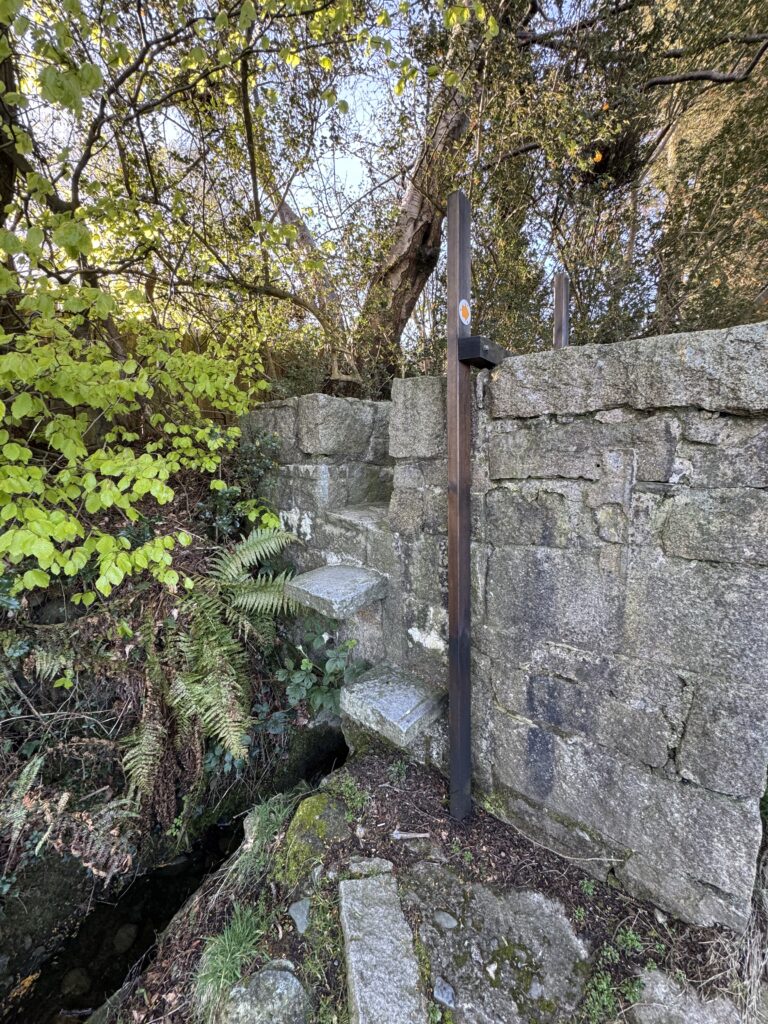
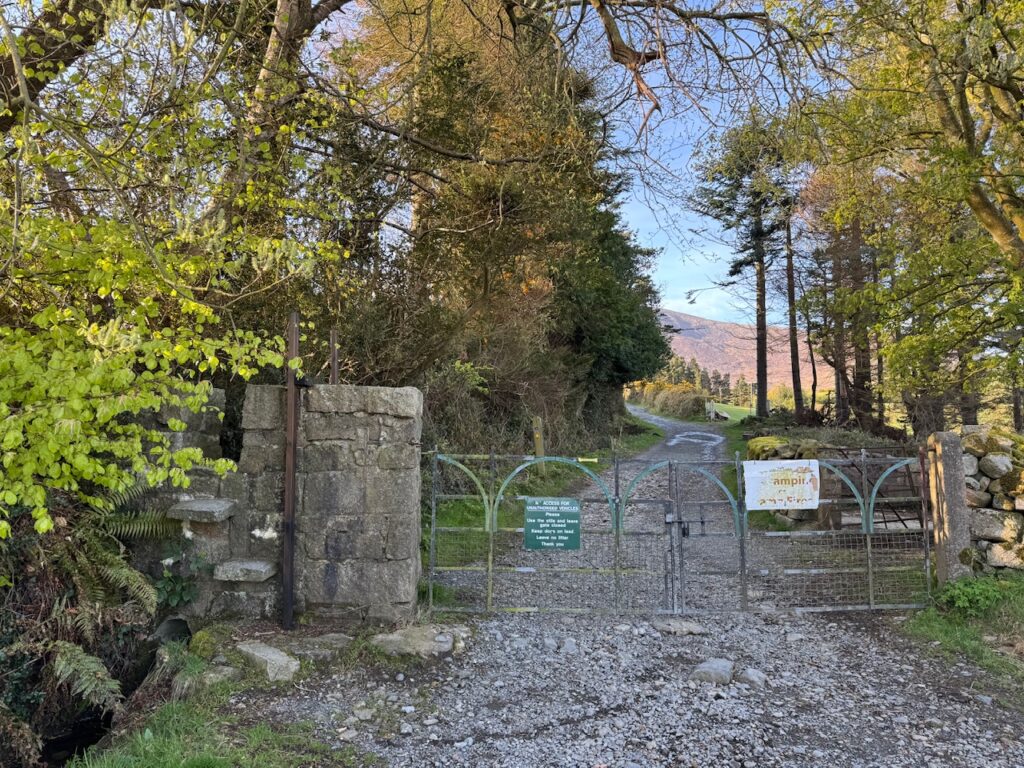
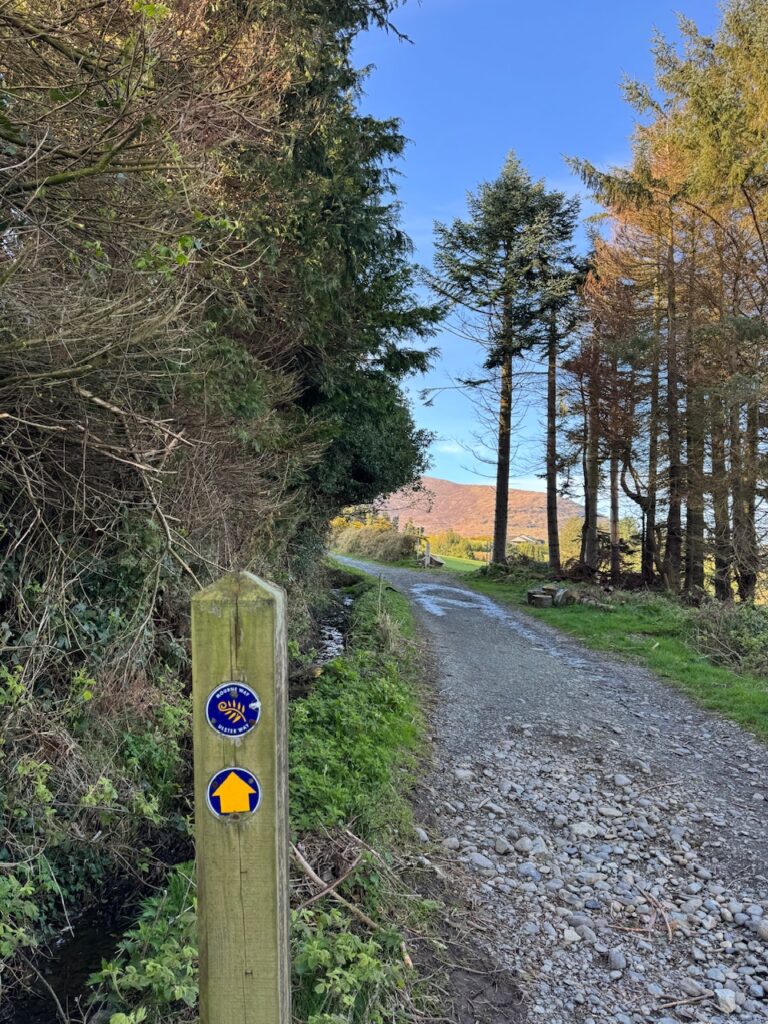
After parking up my car in the last available space in the Trassey Road Car Park, I exited the car park and turned left. I walked along the Trassey Road for 100m or so before coming to the entrance to the Trassey Track. I crossed the stone stile to the left of the gate.
On crossing the stile, I noticed signposts for the Mourne Way and Ulster Way. These long distance trails only overlap for a small part of the Slieve Bearnagh hike. So after the first kilometre or so, you can simply follow the obvious path towards Hare’s Gap rather than worrying about the Mourne Way or Ulster Way waymarkers.
Mountain Views along the Slieve Bearnagh Hike
I followed the gravel path that is Trassey’s Track and quickly noticed the mountains of the Mournes looming in the distance. I could tell straight away that there would be a long approach to the foothills, so I took advantage of the relatively flat terrain to settle into a comfortable rhythm.
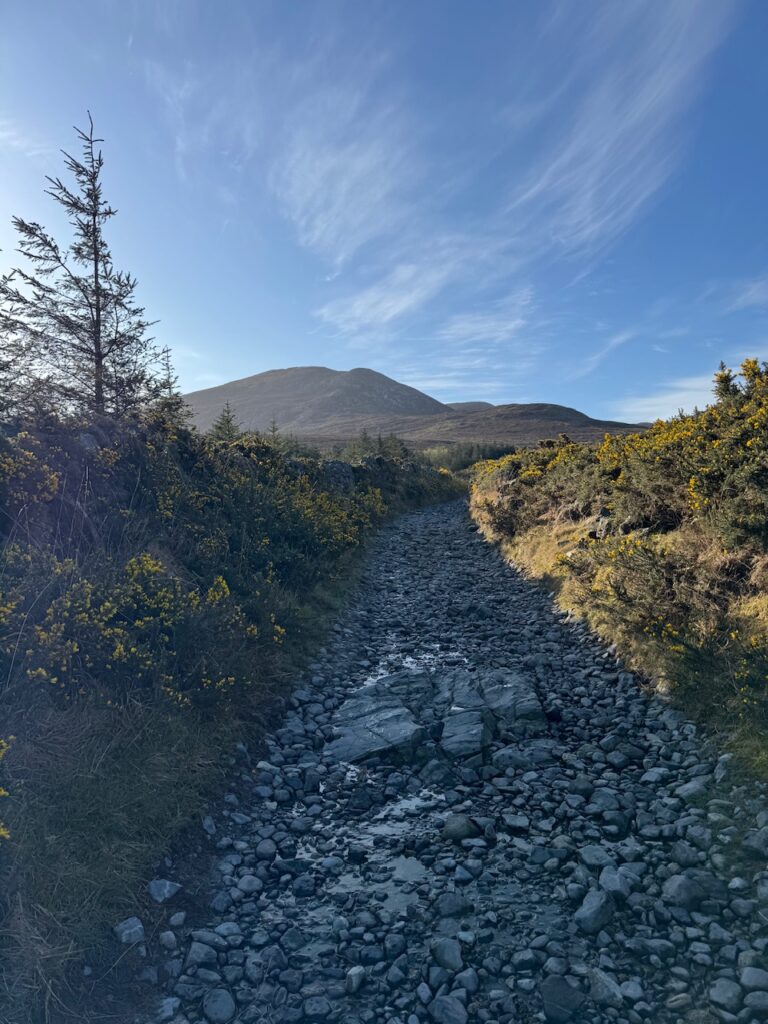
After just over a kilometre of walking I went through a kissing gate and continued along the gravel path. Turning right here would have continued along the Mourne Way and Ulster Way.
Approaching the Mountains
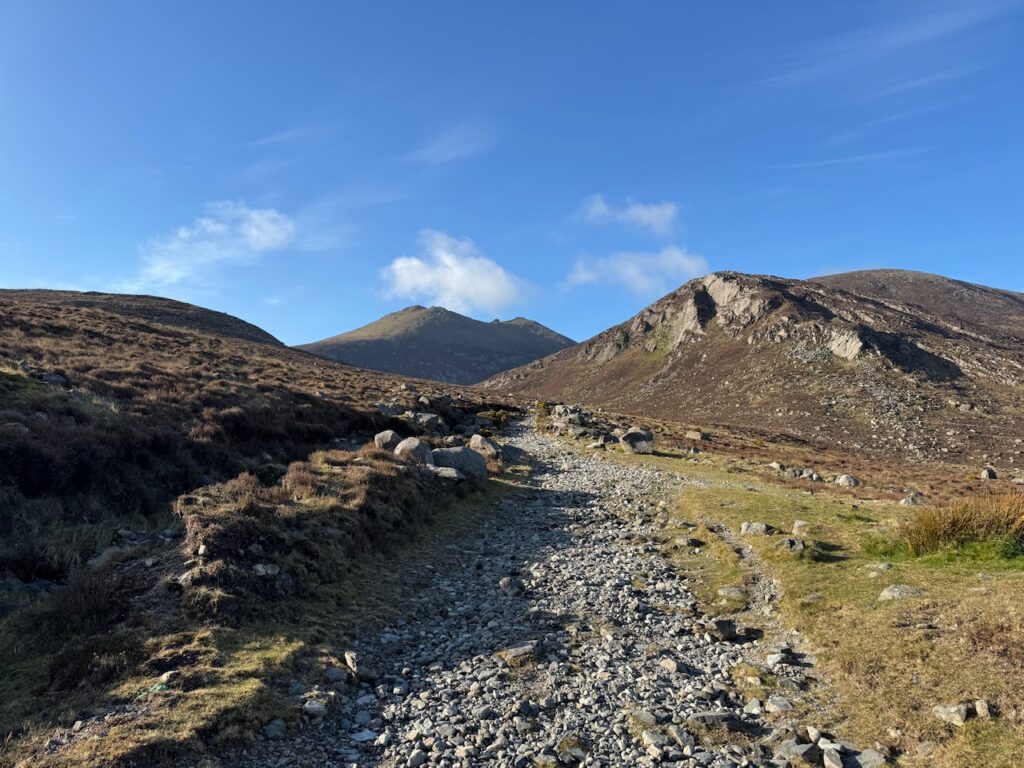
The further I travelled along the gravel track, the clearer my route for the Slieve Bearnagh trail became. As I approached the 3km mark, I came across a fork in the path. Continuing straight led up to the Hare’s Gap. The turn to the right led towards the saddle between Slieve Bearnagh and Slieve Meelmore. The latter would be my route back after summiting Slieve Bearnagh.
Towards Hare’s Gap
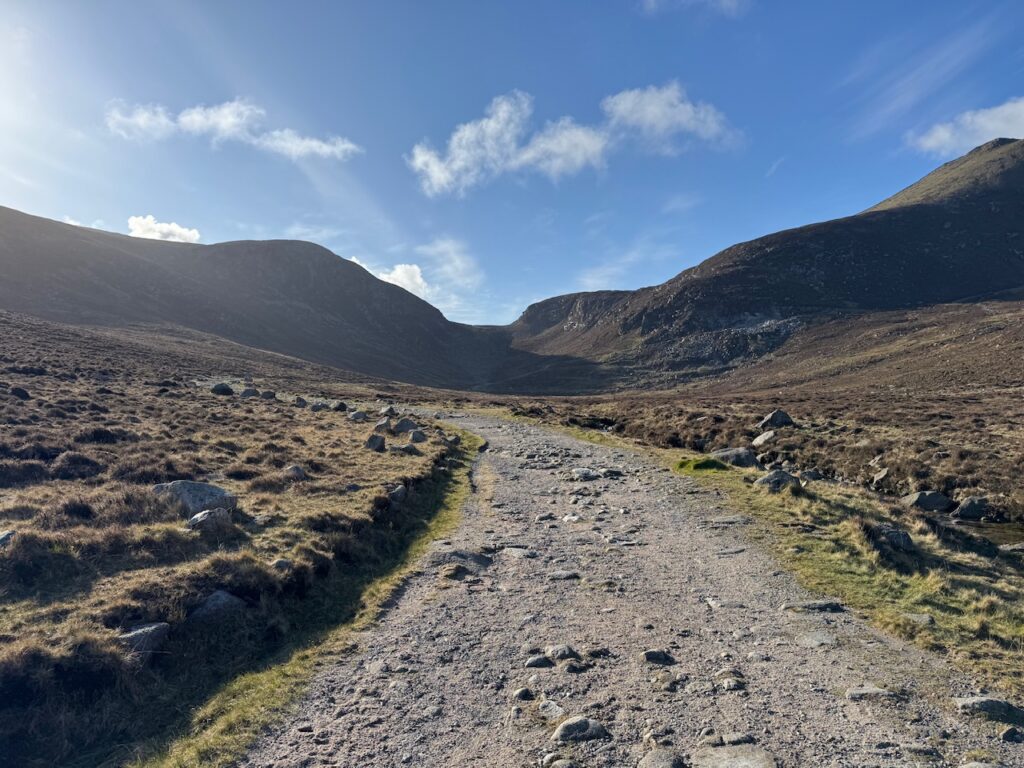
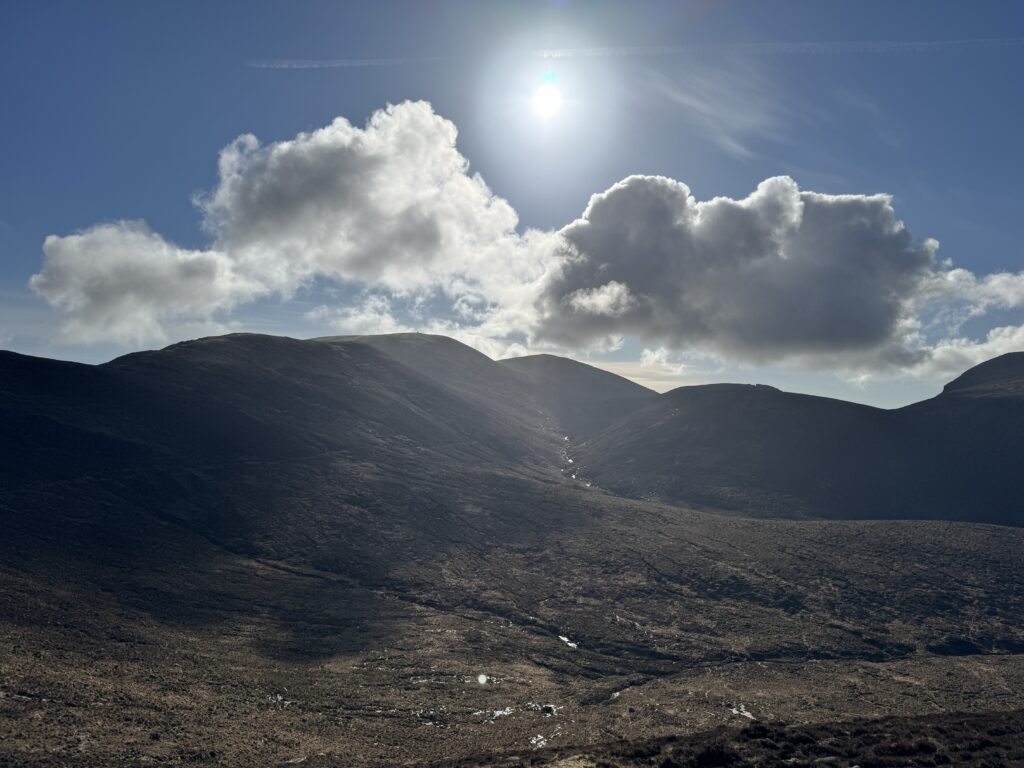
Some people prefer the route straight up the middle of the valley beside the little mountain stream. I think the option up the side of the valley slope to the right is better though. I love this type of little trail that almost seems hewn out of the rock.
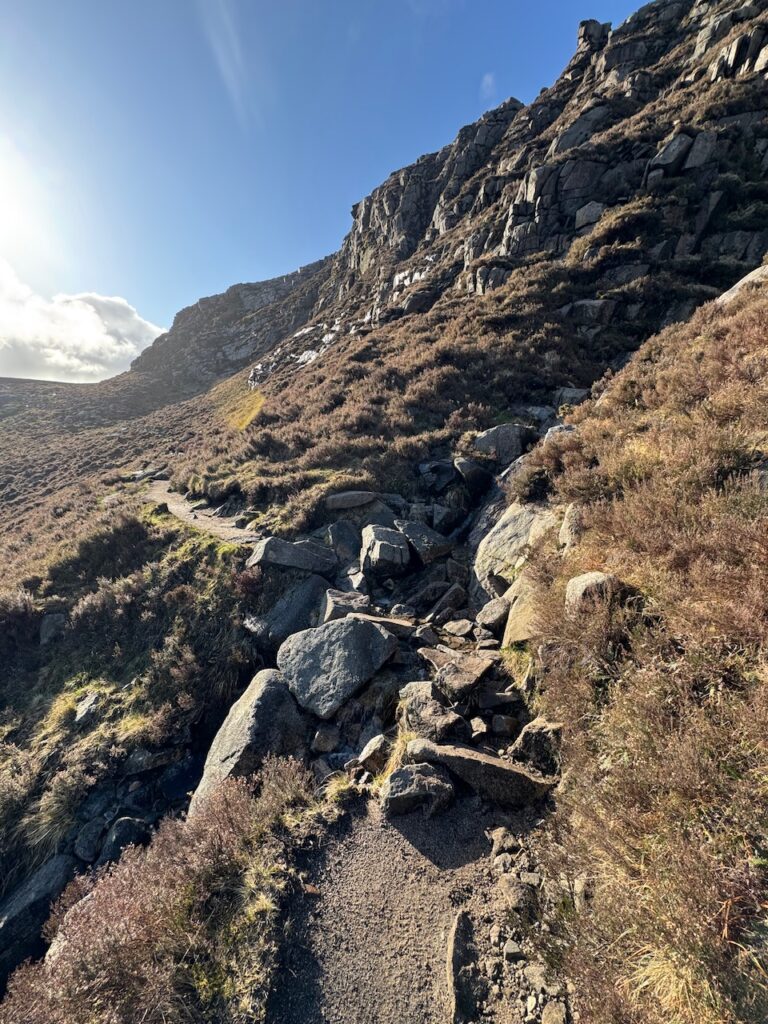
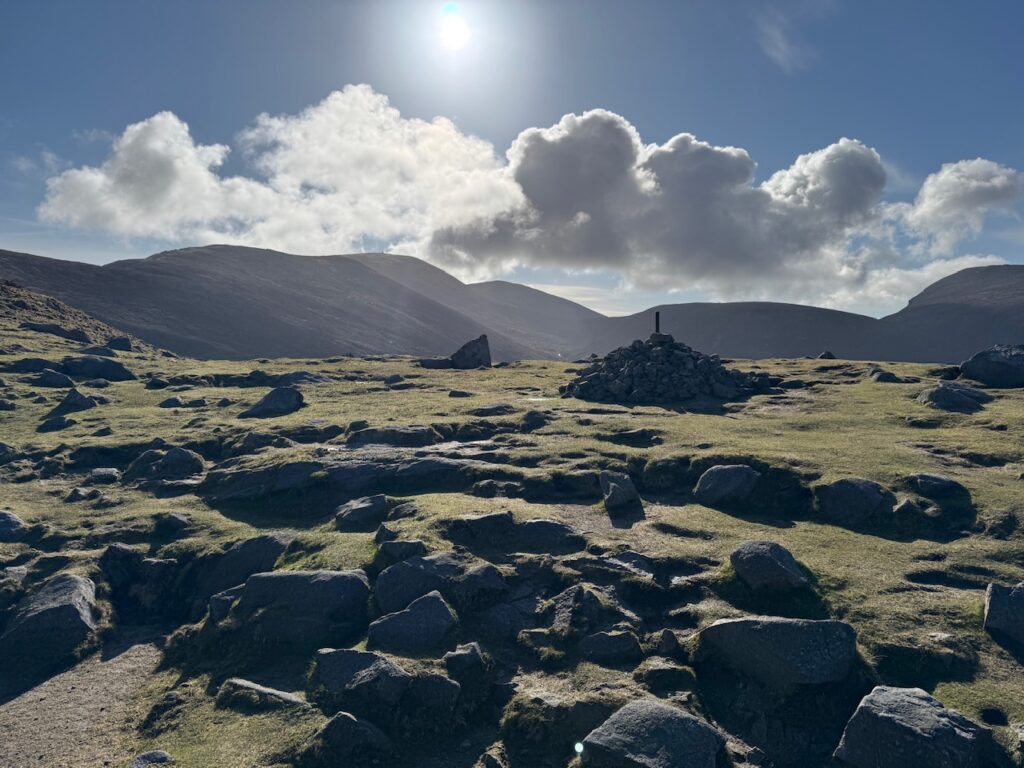
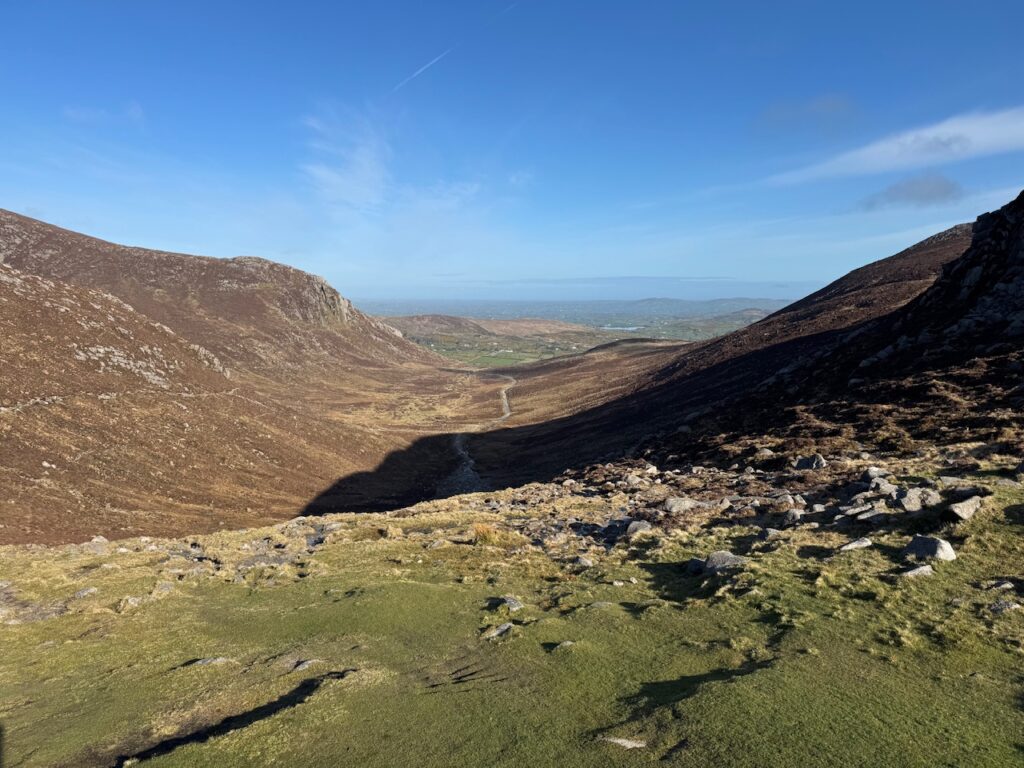
Overall, I found this section of the Slieve Bearnagh hike really lovely. You get the added bonus of some fab views on reaching the top of Hare’s Gap. I got a really clear day for the hike and could see well out to the Irish Sea.
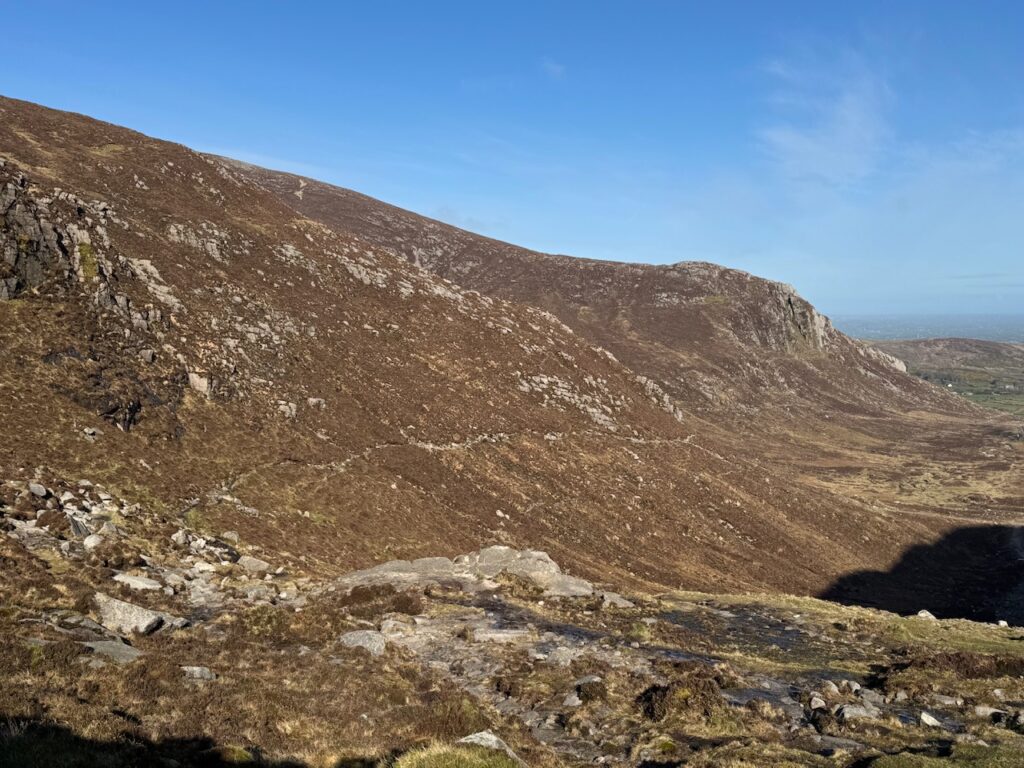
Looking back, I could see the path up the middle of the valley clearly. If I looked closely, I could also just make out the small path I had travelled cut into the side of the valley.
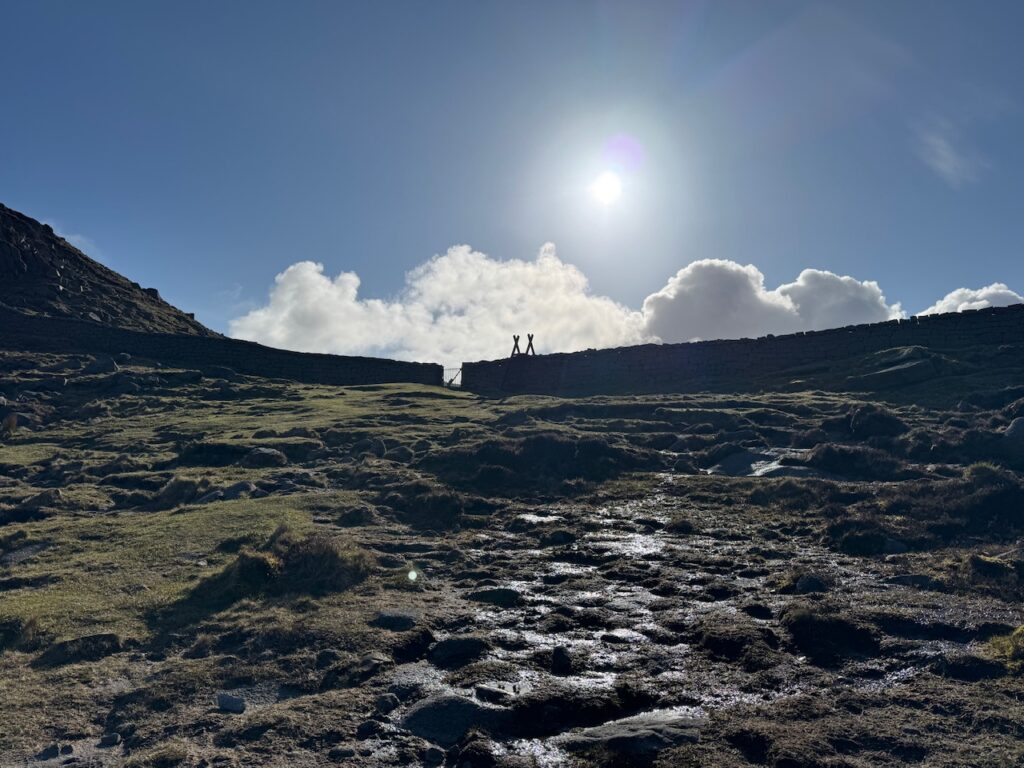
The Toughest Section of the Slieve Bearnagh Hike
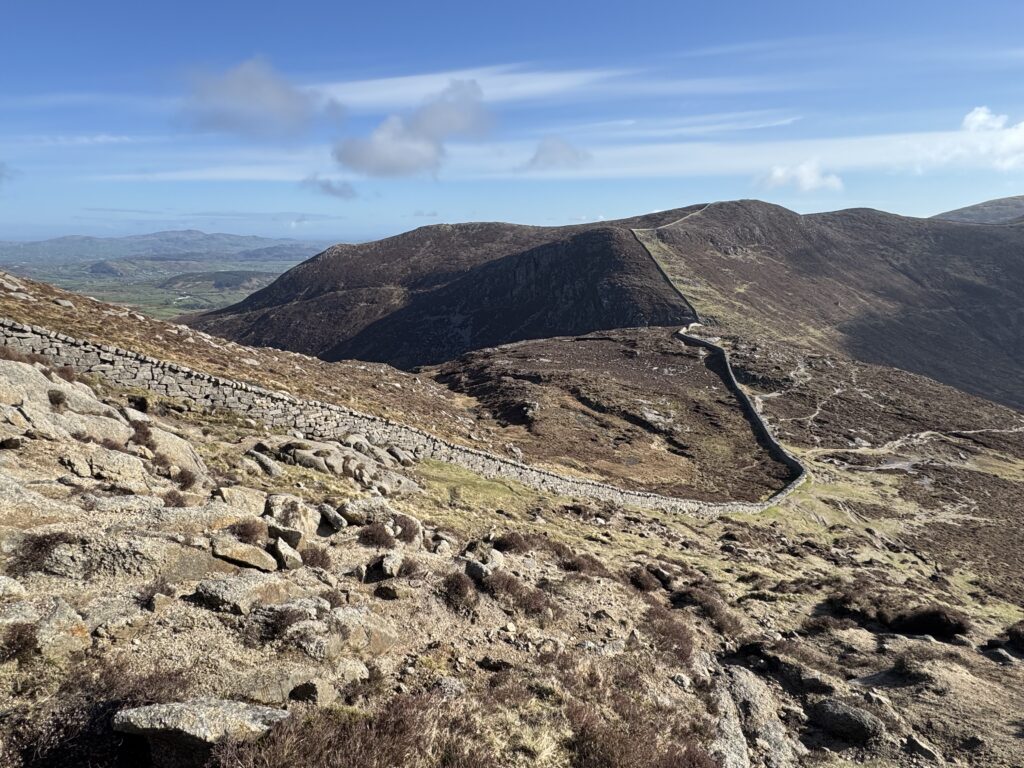
After crossing the stile over the Mourne Wall at the top, I turned right. I took the path up some steep stone steps. On reaching the top of the steps, I surveyed the scene in front of me. I found myself surrounded by amazing views of the peaks of the Mourne Mountains. The views were incredible which was great. Less encouraging, however, was the sight of the trail disappearing steeply upwards. Standing where I was, it looked incredibly steep.
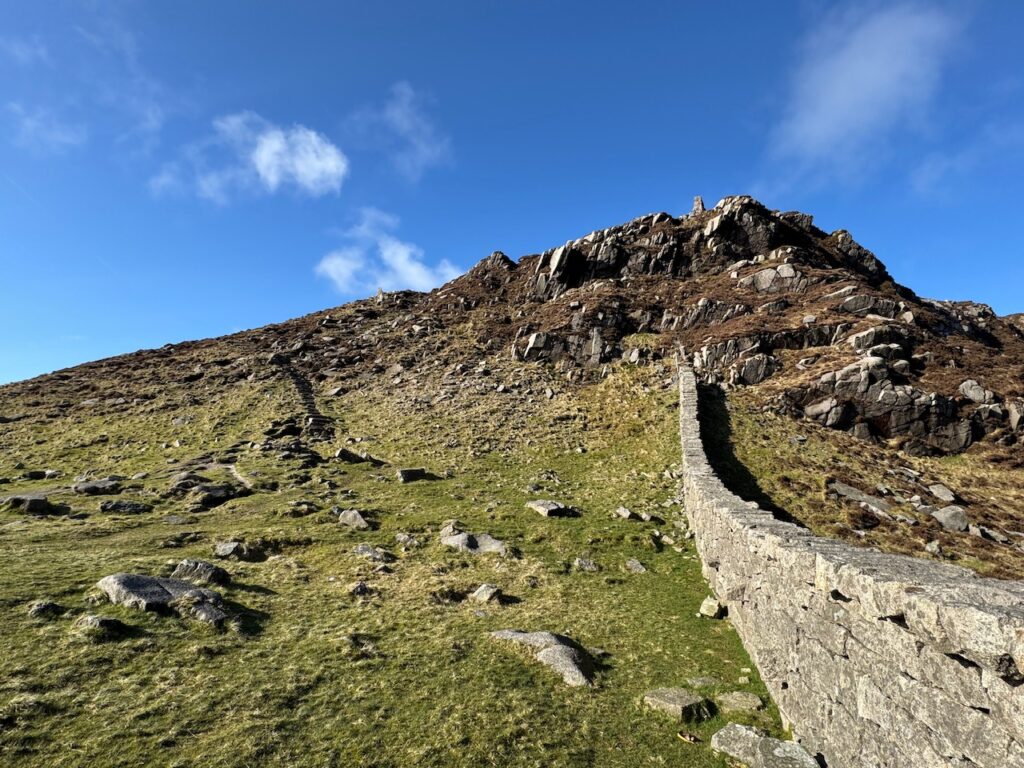
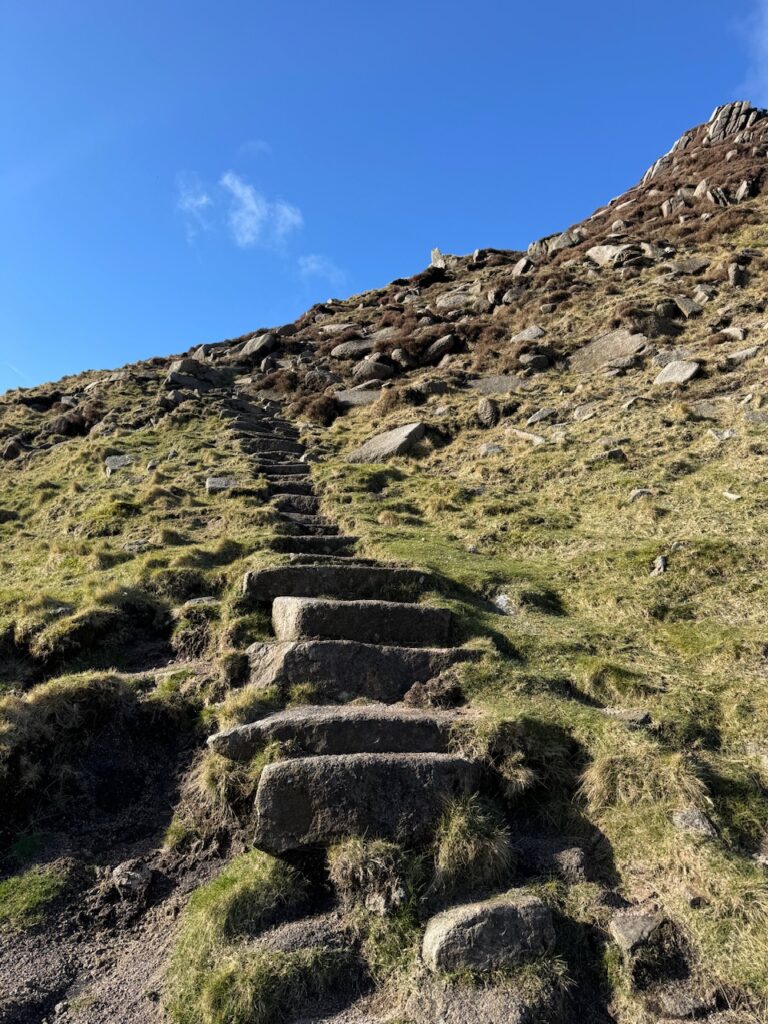
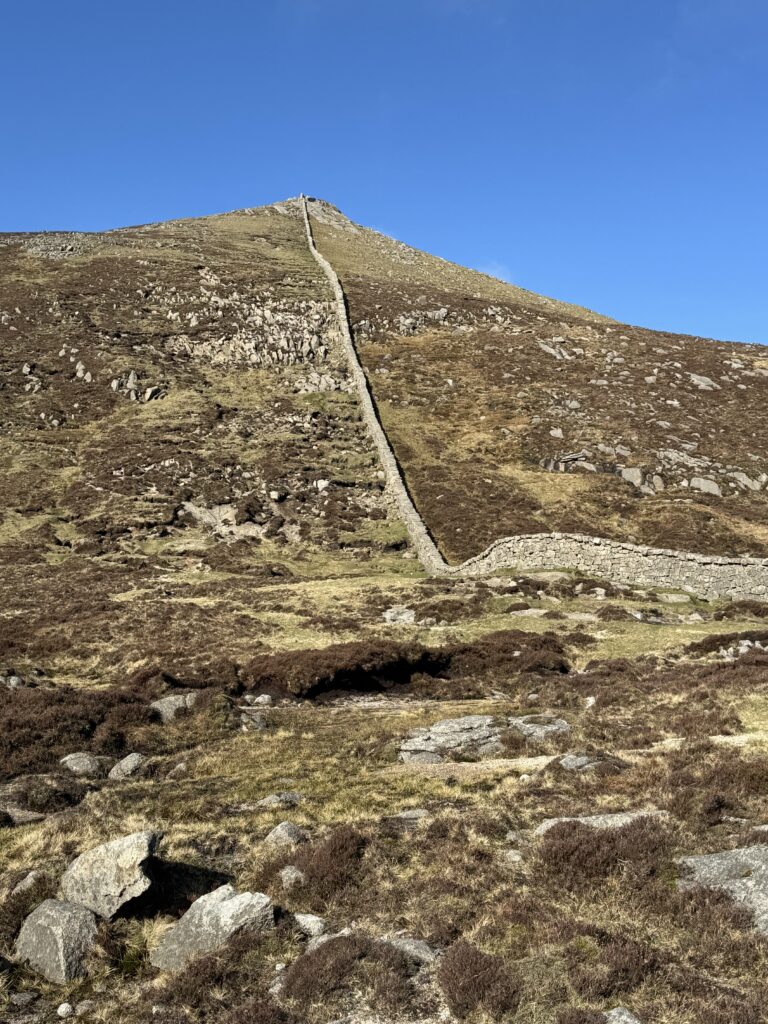
The stone walls seemed to go straight up this towering peak. On seeing this view, a lot of people will assume it is the summit of Slieve Bearnagh….my friends, I would later realise it was not!
I find the best thing to do with these tough steep ascents is to just do them. I ploughed on upwards – keeping the Mourne Wall to my right. Luckily, I had gorgeous views to drink in every time I stopped to gather my breath.
Slieve Bearnagh North Tor
The false top is actually Slieve Bearnagh North Tor. A tor being a large rocky outcrop that rises prominently from the surrounding landscape. I reached the North Tor after about 4.6km of walking.
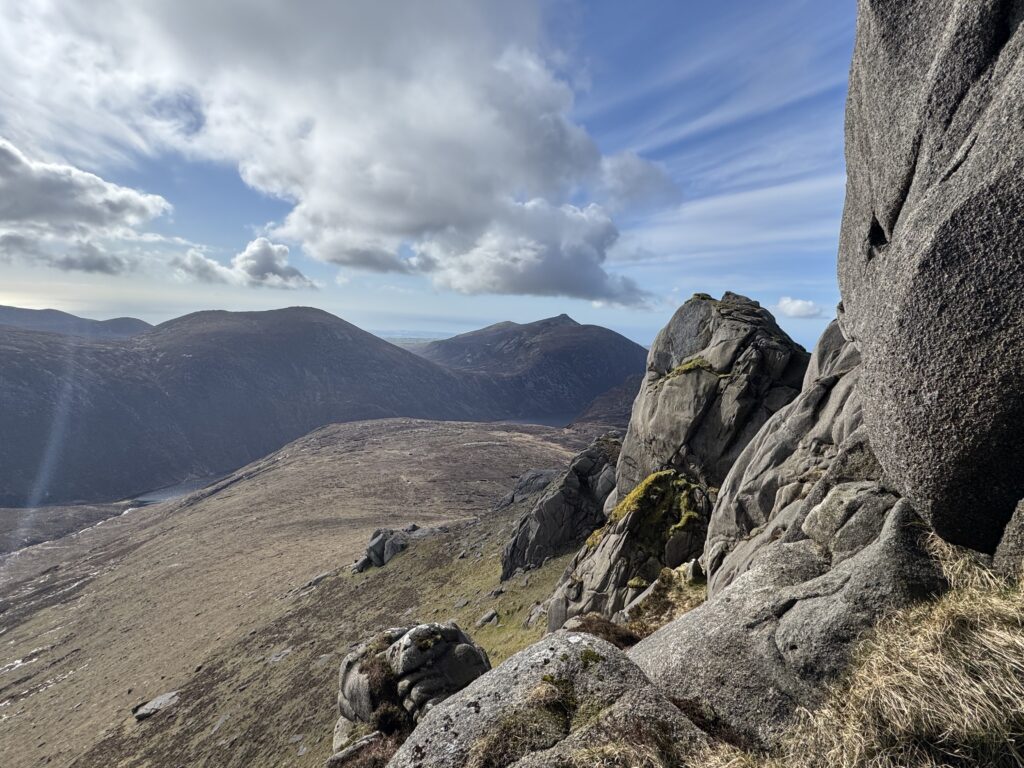
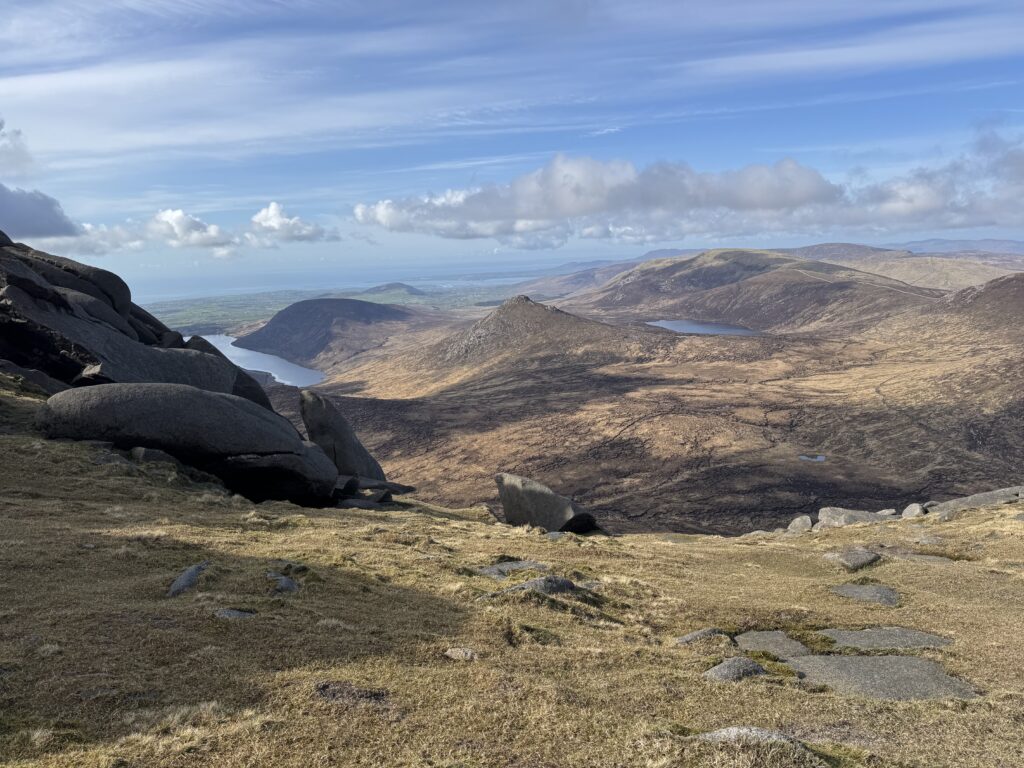
From this vantage point, I had stunning views across to the top of Slieve Bearnagh. The huge rock formation on the southern side of the mountain top really imposes itself on the surrounding landscape.
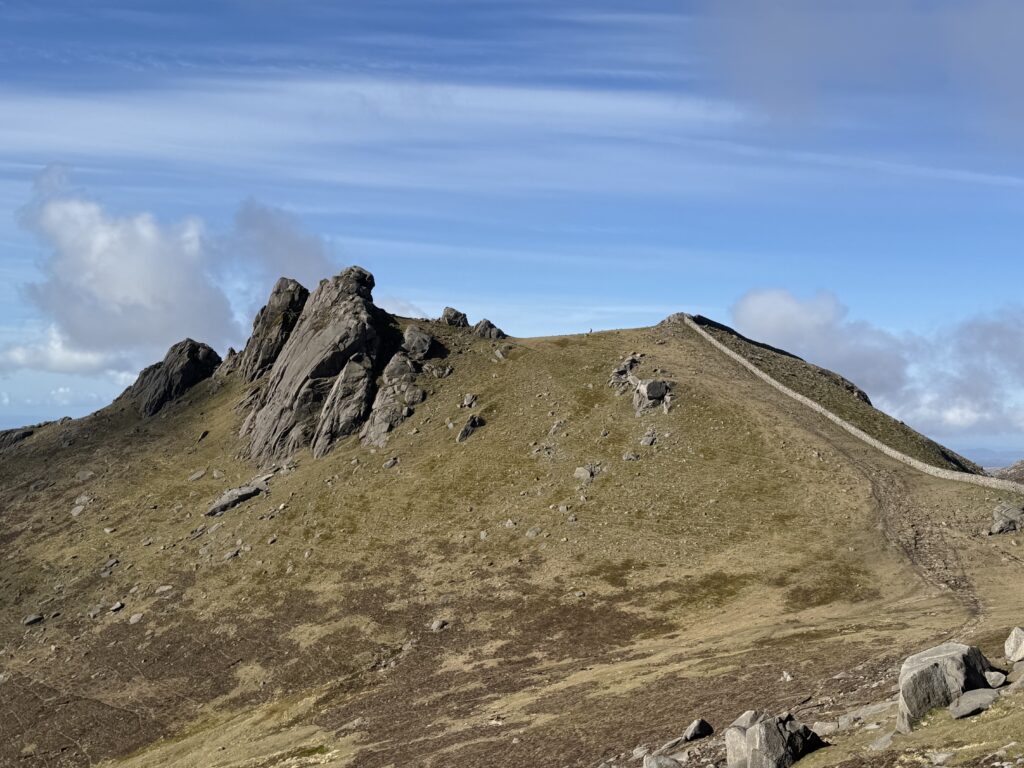
I now found myself only a few hundred metres from getting there so used the path near the wall on my right to continue along the journey.
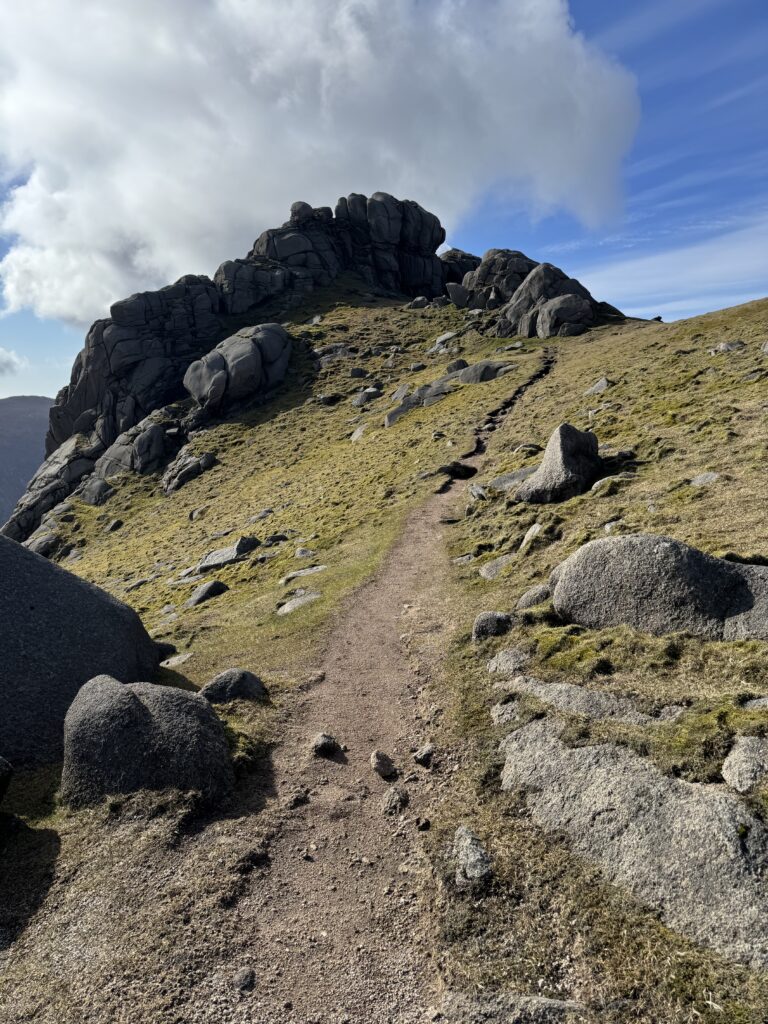
The Highest Point of the Slieve Bearnagh Hike
I decided (wisely) against actually attempting to climb to the very top of the rock. I’ve read that it can be attained by a short scramble up but it looked a more technical climb to me. As such, I didn’t risk it.
Given the wonderful views from the mountain top, I really enjoyed my packed lunch here. It gave me extra time to soak in the views before starting on my homeward journey.
Back to the Trassey Track via the Bearnagh Slabs
I made my descent down the western side of Slieve Bearnagh. The Mourne Wall makes a sharp turn at the summit, so it once again lay to my right as I headed downhill.
I needed to take care and watch my step on the descent. The ground was quite uneven, particularly near the top, although the path became much more defined the further I descended.
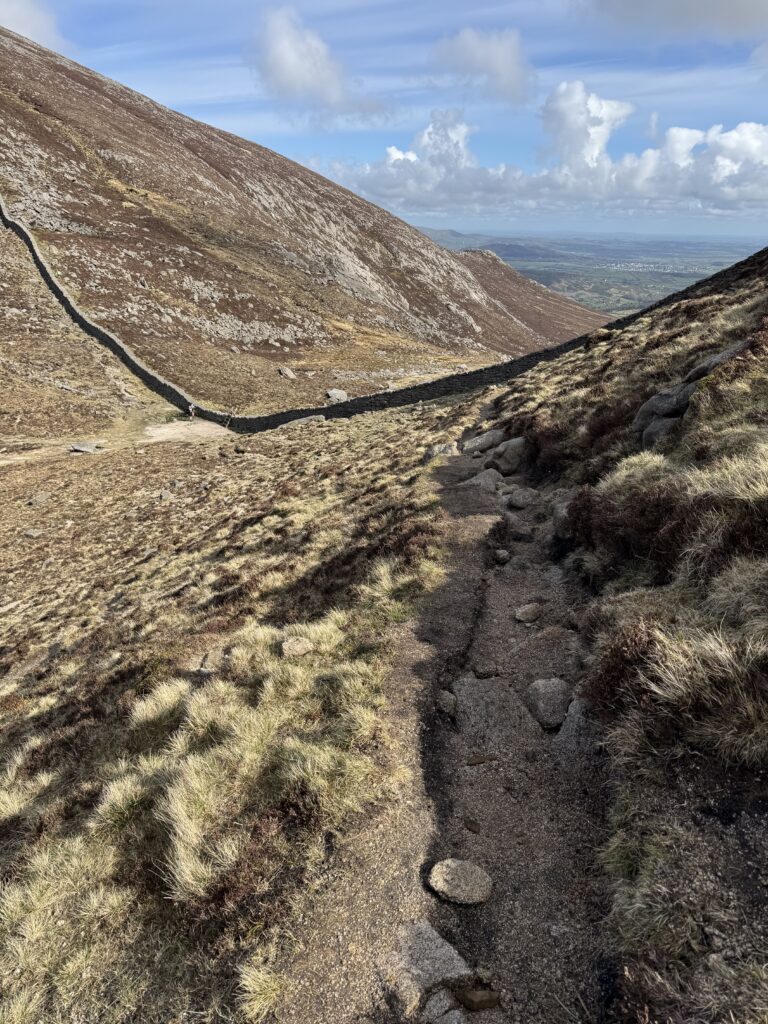
I turned right at the bottom of the valley between Slieve Bearnagh (now behind me) and Slieve Meelmore (ahead of me). I couldn’t miss the steps over the Mourne Wall, which I needed to cross.
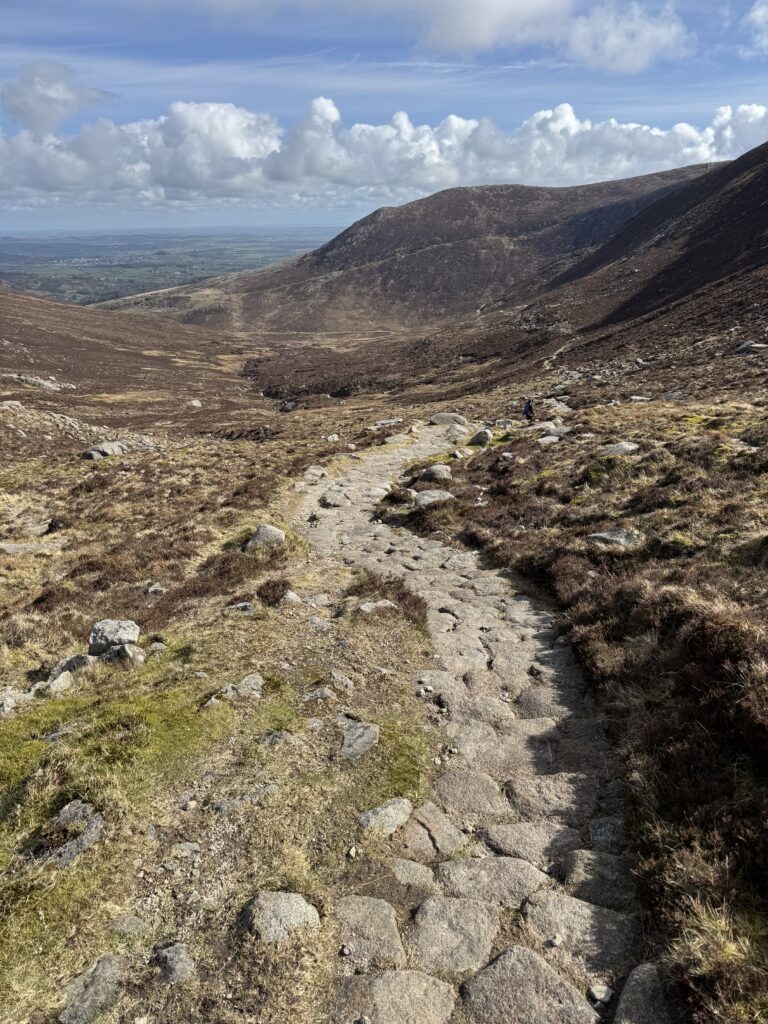
The stile came at around the 5.5km mark. With the Bearnagh Slabs to my right, I followed the well-defined path for around 1.5km until I reached Trassey Track. The Bearnagh Slabs are a vast expanse of steep, exposed granite on the north-western side of the mountain. They are popular with rock climbers, but this walking route passes beside them, so no scrambling or technical climbing is required.
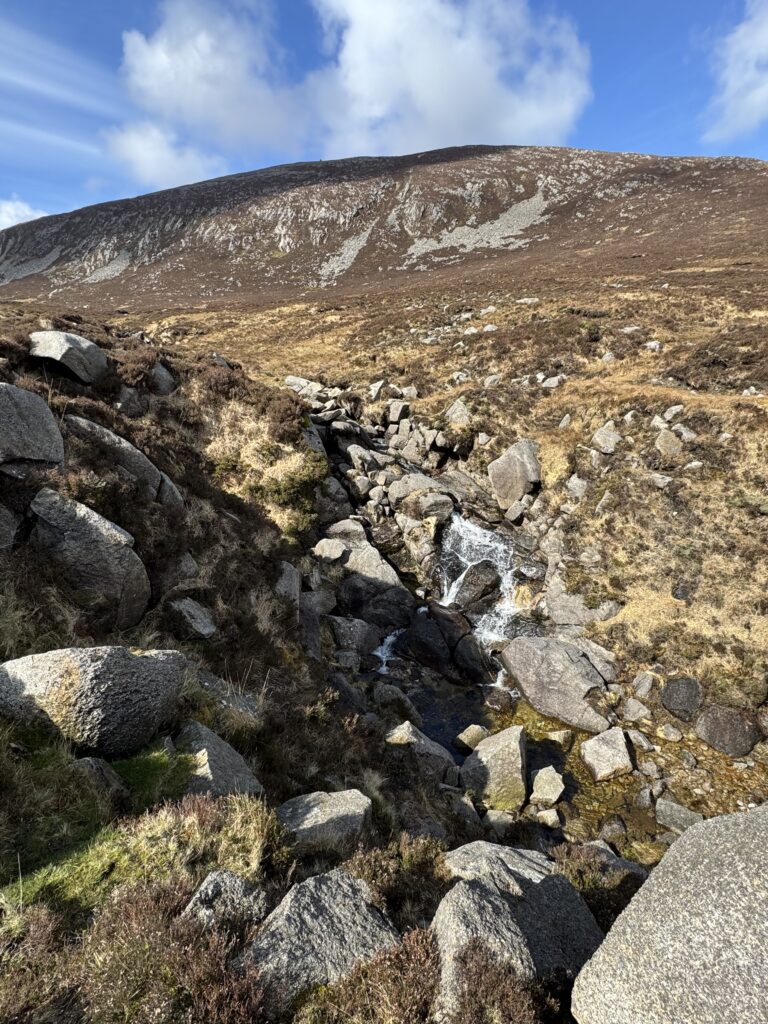
Finishing the Slieve Bearnagh Hike
I found myself back at the Trassey Track after 7km of walking. I simply needed to then re-trace the last 3km to get back to the starting point of the hike.
And that completed my Slieve Bearnagh hike. If you’re looking for one of the very best hikes in the Mourne Mountains, I definitely recommend it. The route has a lot of variety including a gentle approach along the Trassey Track, stunning scenery around Hare’s Gap followed by a challenging climb to the summit. The best thing though are the incredible views for almost the entire walk.
While the final ascent is steep enough to get the heart pumping, the effort is more than rewarded once you reach the top. Standing there really encapsulates what hiking in the Mournes is all about. You have the distinctive Mourne Walls spreading out in all directions, the exposed granite of the tors beside you and lakes and peaks of the Mournes surrounding you.
Having now completed several of the classic Mourne hikes, this one still comes out on top for me.